Official Training Hub
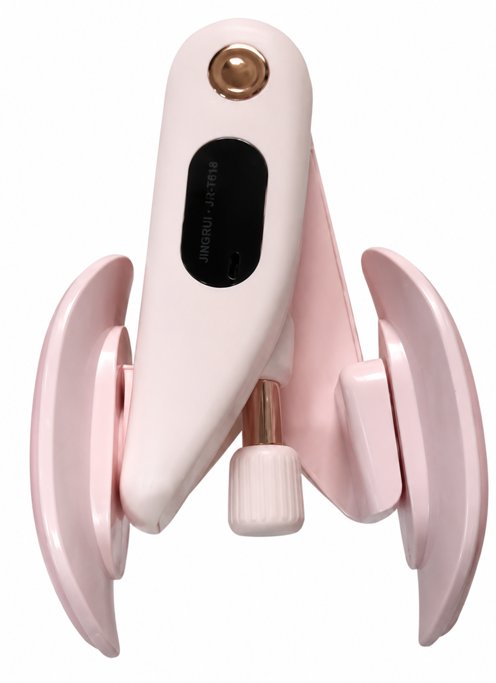
Get the most out of your Pelvic Floor Trainer
Step-by-step videos, a beginner's guide, and a 4-week progressive training program — all in one place.
Step-by-step videos, a beginner's guide, and a 4-week progressive training program — all in one place.
Follow along with our guided videos to get the most safe and effective results from your trainer.
What's in the box, how to charge, and how to get started safely on day one.
Coming SoonA full first session at low resistance — correct positioning, breathing, and form.
Coming SoonHow and when to progress through the resistance settings for continued improvement.
Coming SoonHow to safely clean and store your trainer after every session to maximise longevity.
Coming SoonEverything you need to know before your first session — no prior experience required.
The pelvic floor is a group of muscles at the base of your pelvis that supports your bladder, bowel, and core. Strengthening these muscles can improve posture, core stability, and daily comfort.
The KYRONA trainer is designed for anyone looking to improve pelvic floor strength — whether you're a beginner, returning after a long break, or looking to maintain existing strength. Always consult your healthcare provider if you have existing conditions.
Clean the device thoroughly before use. Start on the lowest resistance setting. Find a comfortable, private position. Take 5 slow breaths to relax before beginning. Never push through pain — discomfort should be mild.
We recommend 3 sessions per week for the first month, allowing at least one rest day between sessions. Consistency matters more than intensity — even 10 minutes three times a week produces results over time.
Breathe normally throughout each exercise — never hold your breath. Engage the pelvic floor muscles gently on the exhale. Keep your abdominals, glutes, and thighs relaxed during each contraction.
Stop immediately if you feel sharp pain, numbness, or increased discomfort. Rest for at least 48 hours between sessions. If symptoms persist, consult your GP or pelvic health physiotherapist before continuing.
A structured week-by-week program designed to build strength gradually and safely.
Low resistance only. Focus on form, breathing, and learning to isolate the pelvic floor muscles correctly. 3 sessions this week with full rest days between.
Increase reps per set. Stay at the same resistance setting unless the previous week felt very easy. Focus on controlled release — the lowering phase is just as important.
If comfortable, move up one resistance level. Reduce reps slightly while your muscles adapt to the new load. Add functional exercises done standing.
Maintain the increased resistance. Aim for full volume with confident form. By the end of this week, you'll have built a solid pelvic floor strength base you can maintain going forward.
Common questions answered. If you need more help, our support team is just an email away.
Our support team typically replies within 1–2 business days.
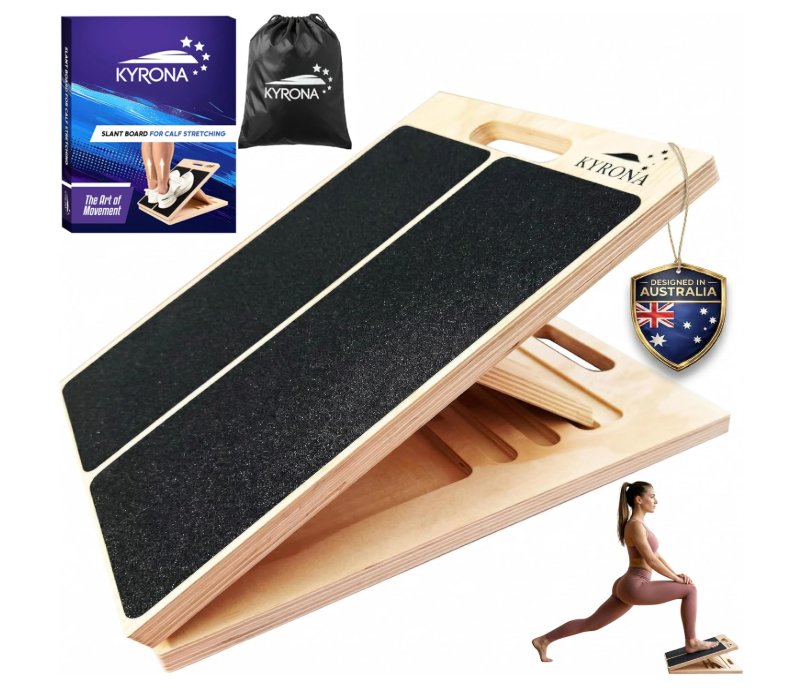
Our adjustable wooden slant board is designed for calf stretching, squat support, ankle mobility, and leg flexibility — non-slip, durable, and built to last. Another product from the KYRONA family.
View on Amazon Australia